Hello there,
If you want to give an antique look to any of your projects, just use old book papers as one of the design elements and using them to create tags seems to be my current favourite. So here I am sharing my latest creation. I hope to share many more in this series very soon.
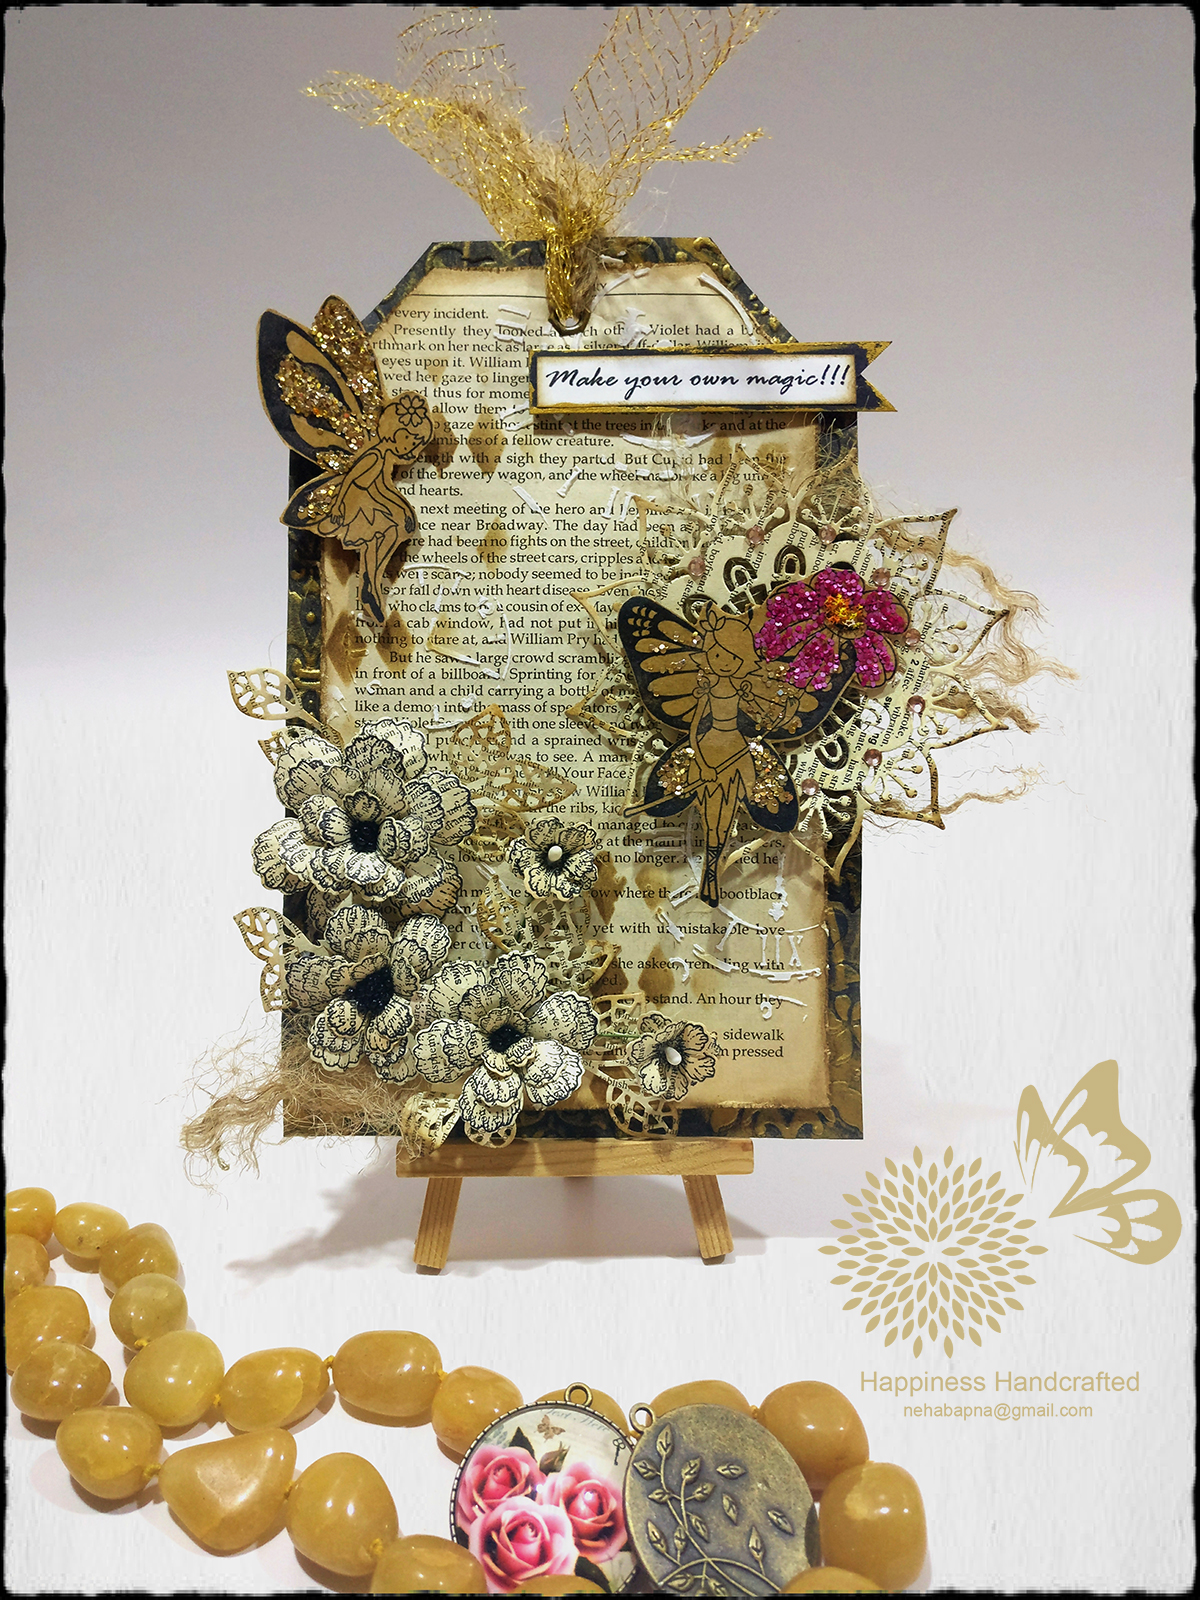
I started by sticking two pages using mod podge to make the base durable. I also distressed the edges using a pair of scissors. Then I applied texture paste using a clock stencil and then used another stencil with brown archival ink to create more interest in the background.
I carried on to stamp two fairies and then fussy cut both of them. I used golden glitter to colour the wings and dark pink glitter to make the flower stand out on one of the fairies.
The flowers are also made of old book papers. I have used heartfelt creations botanical rose stamp and die to create these vintage flowers. I have used thin cut dies from Itsy Bitsy for the leaves and the ornamental doily. I have used small crystals and fibres to add appeal to the doily and have also distressed the edges lightly with walnut stain.

I have used more fibres and a piece of golden coloured net to tie a string on the tag. But most importantly, I wanted to incorporate one of my favourite sentiments "Make your own magic" in this tag which also served as the theme for this tag. I printed the sentiment on my printer and backed it with black CS. The tag is mounted on a black CS which has been embossed using an A4 size damask embossing folder and then distressed with antique gold inka gold.

Hope you like this antique, very vintage and motivational tag. Thanks for stopping by. Do share your feedback in the comments section below.
Playing along at-
If you want to give an antique look to any of your projects, just use old book papers as one of the design elements and using them to create tags seems to be my current favourite. So here I am sharing my latest creation. I hope to share many more in this series very soon.
I started by sticking two pages using mod podge to make the base durable. I also distressed the edges using a pair of scissors. Then I applied texture paste using a clock stencil and then used another stencil with brown archival ink to create more interest in the background.
I carried on to stamp two fairies and then fussy cut both of them. I used golden glitter to colour the wings and dark pink glitter to make the flower stand out on one of the fairies.
The flowers are also made of old book papers. I have used heartfelt creations botanical rose stamp and die to create these vintage flowers. I have used thin cut dies from Itsy Bitsy for the leaves and the ornamental doily. I have used small crystals and fibres to add appeal to the doily and have also distressed the edges lightly with walnut stain.
I have used more fibres and a piece of golden coloured net to tie a string on the tag. But most importantly, I wanted to incorporate one of my favourite sentiments "Make your own magic" in this tag which also served as the theme for this tag. I printed the sentiment on my printer and backed it with black CS. The tag is mounted on a black CS which has been embossed using an A4 size damask embossing folder and then distressed with antique gold inka gold.

Hope you like this antique, very vintage and motivational tag. Thanks for stopping by. Do share your feedback in the comments section below.
Playing along at-
- www.creativeartistemixedmedia.blogspot.com.au. Also, including the link to their blog Creative Artiste's Challenge 23 - Anything mixed media goes
- Stencil Sunday #82 + February Mixed Media Challenge
- ItsyBitsy February Challenge - Creations using Itsy Bitsy Thin Cut Dies
- A Vintage Journey February Challenge - Words that are special
- Crafty Friends Blog Challenge- All That Glitters


